030: How to import your lists from Mailchimp to ConvertKit in 22 Mini Steps
Hello there!
Moving lists from Mailchimp to ConvertKit is one of the last steps in any migration project I undertake for my clients. This is because you first need to set up your ConvertKit account, transfer over all content assets and switch over the former Mailchimp forms on your website to the new ConvertKit forms. Otherwise, you will be investing double time. If the forms on your site are still Mailchimp, then obviously you will still collect subscribers into your Mailchimp account and have to go back to bring them over to ConvertKit - again! Don't do that! ;-)
So let's say you've done all the other tasks that a migration project requires. Only now you are ready to import your subscribers from Mailchimp to ConvertKit! Yayy! This is the fun part.
I've laid out the process in tiny, itsy bitsy, mini-steps with screenshots for you below! Enjoy!
OR you can watch this short video as I walk you through the steps.
Follow these 22 Mini Steps to Import your Lists into ConvertKit:
1. Create the tags
The Mailchimp lists will be imported into tags inside ConvertKit. So first set up the tags inside your ConvertKit account for each list you want to import. You will see the blue Create a Tag feature at the very bottom of the Subscribers Tab.

2. In my example for this video, I am importing a list called Happiness Members in Mailchimp.
So it gets imported into the tag: "MC Import: Happiness Members". You can name the tag so that even three months from now, you will know exactly what it contains or why it was set up.

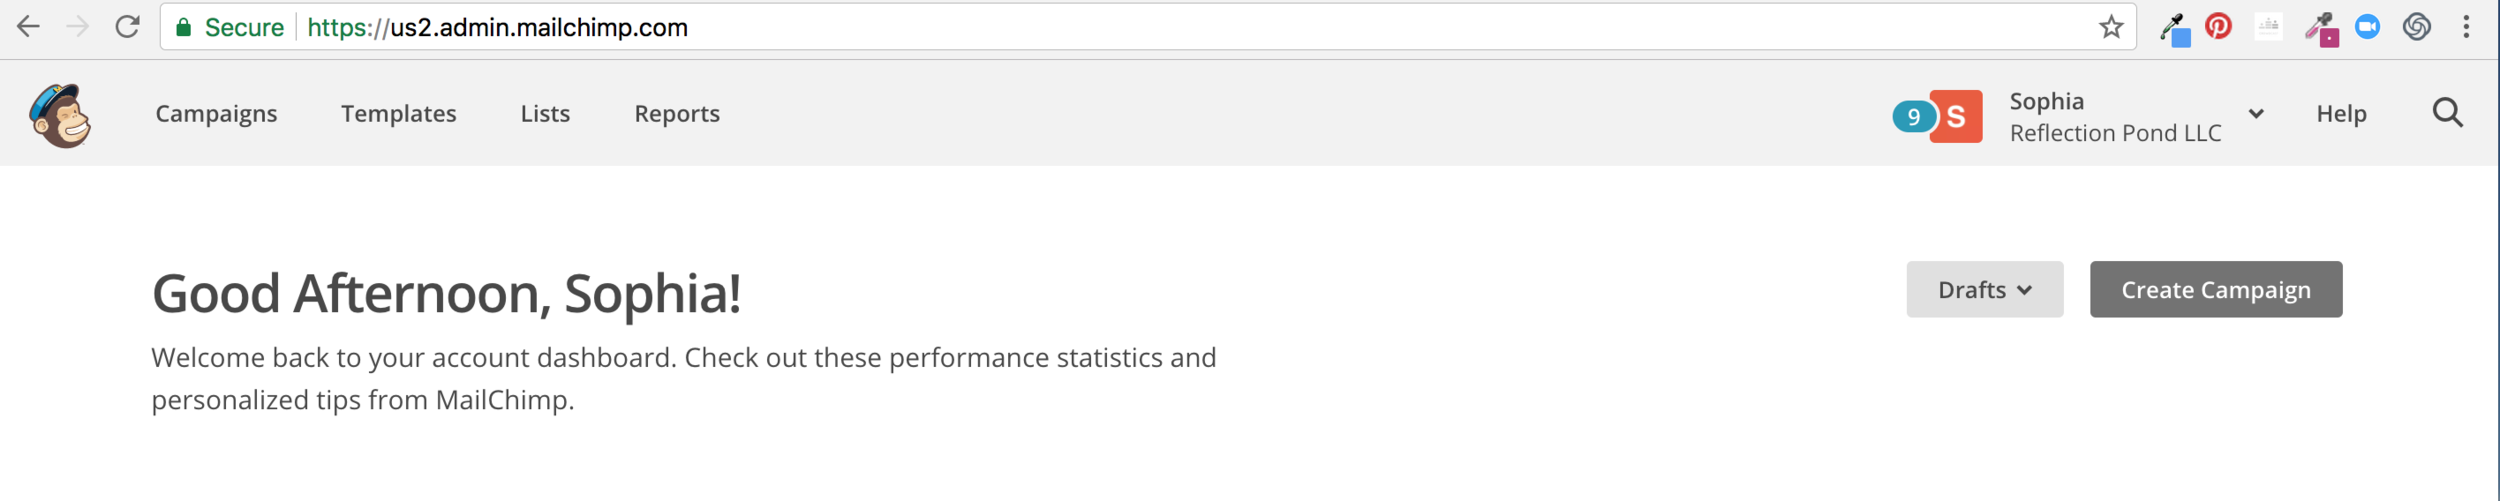
3. Next, open up Mailchimp. Click on "Lists" on the top bar.
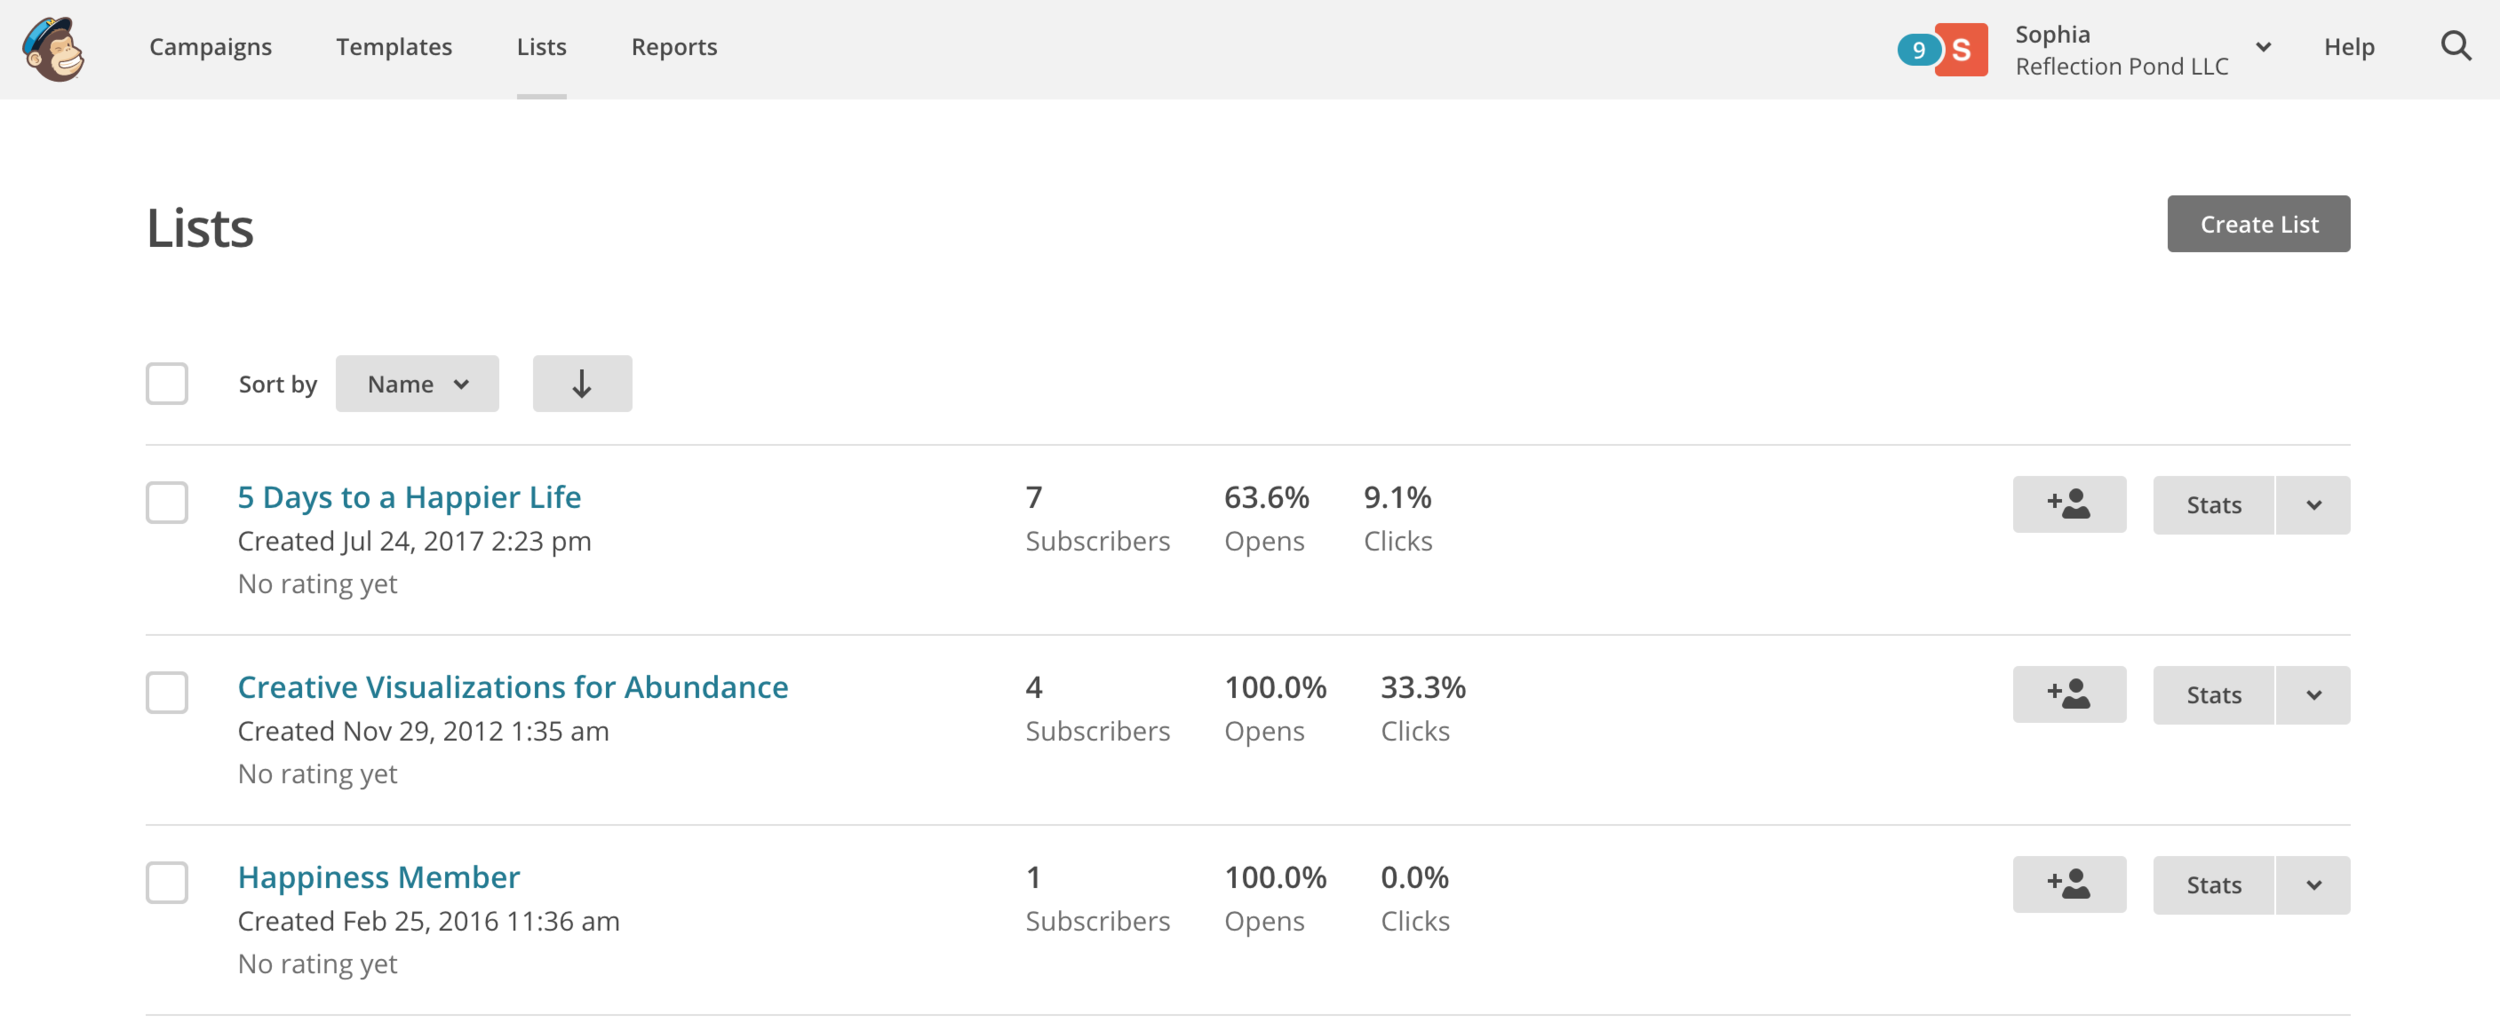
4. Select the list you want to import.
In my example, it is the third one called "Happiness Member".
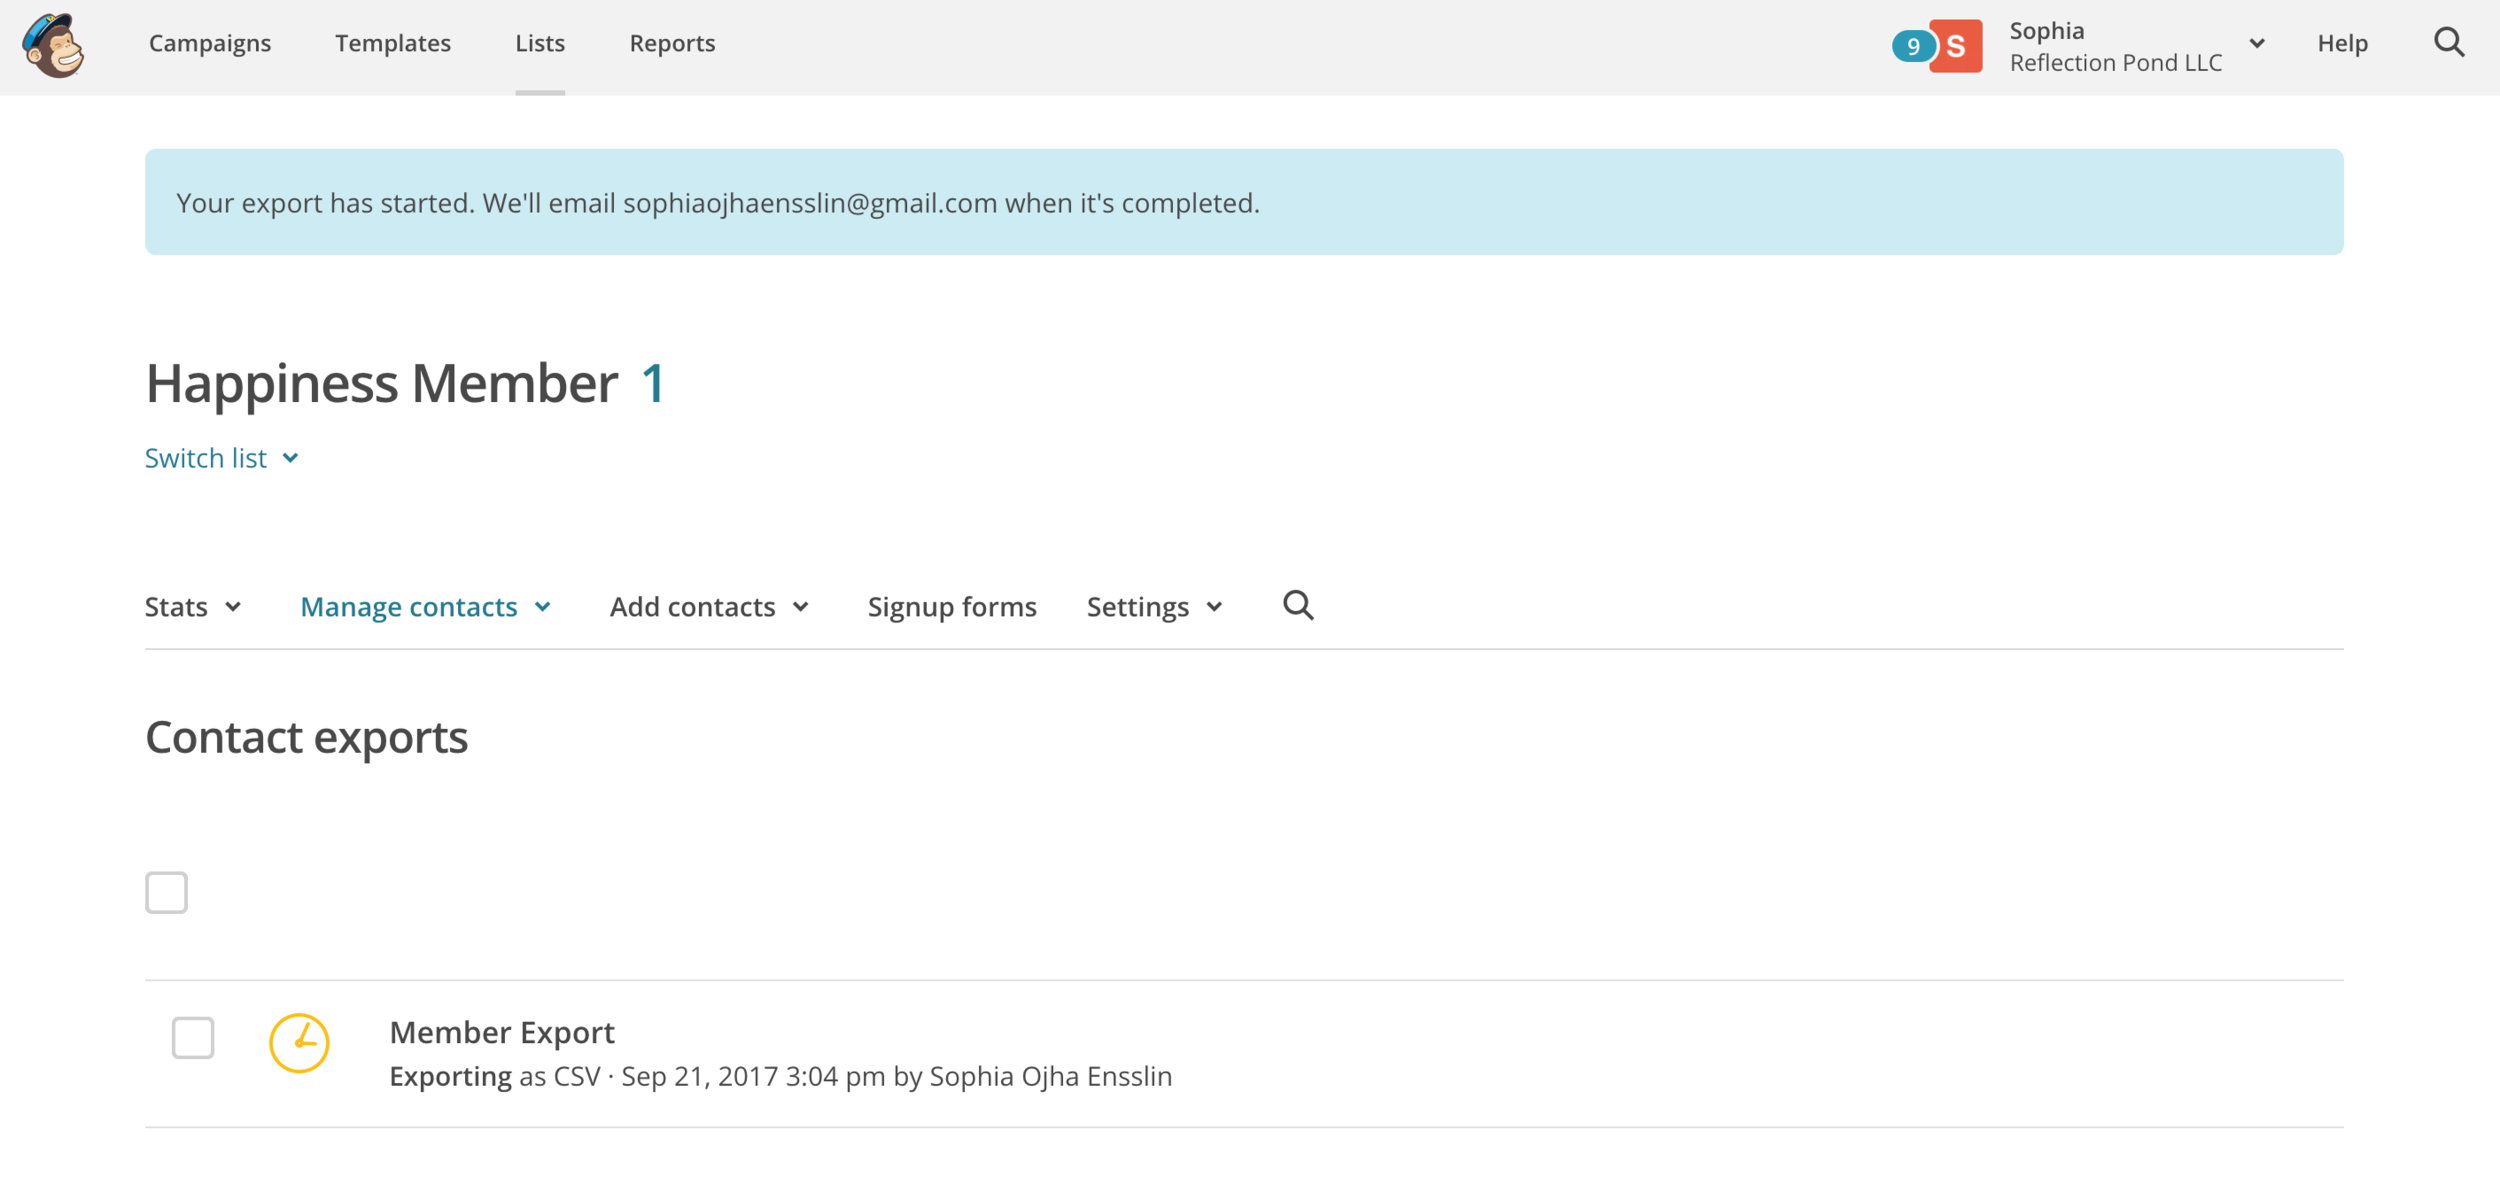
5. Once I click on Happiness Member, it opens up to this screen.
Now you will need to click "Export List".

6. You will see this yellow clock icon while it is still importing.
You will need to wait a few minutes before it changes.
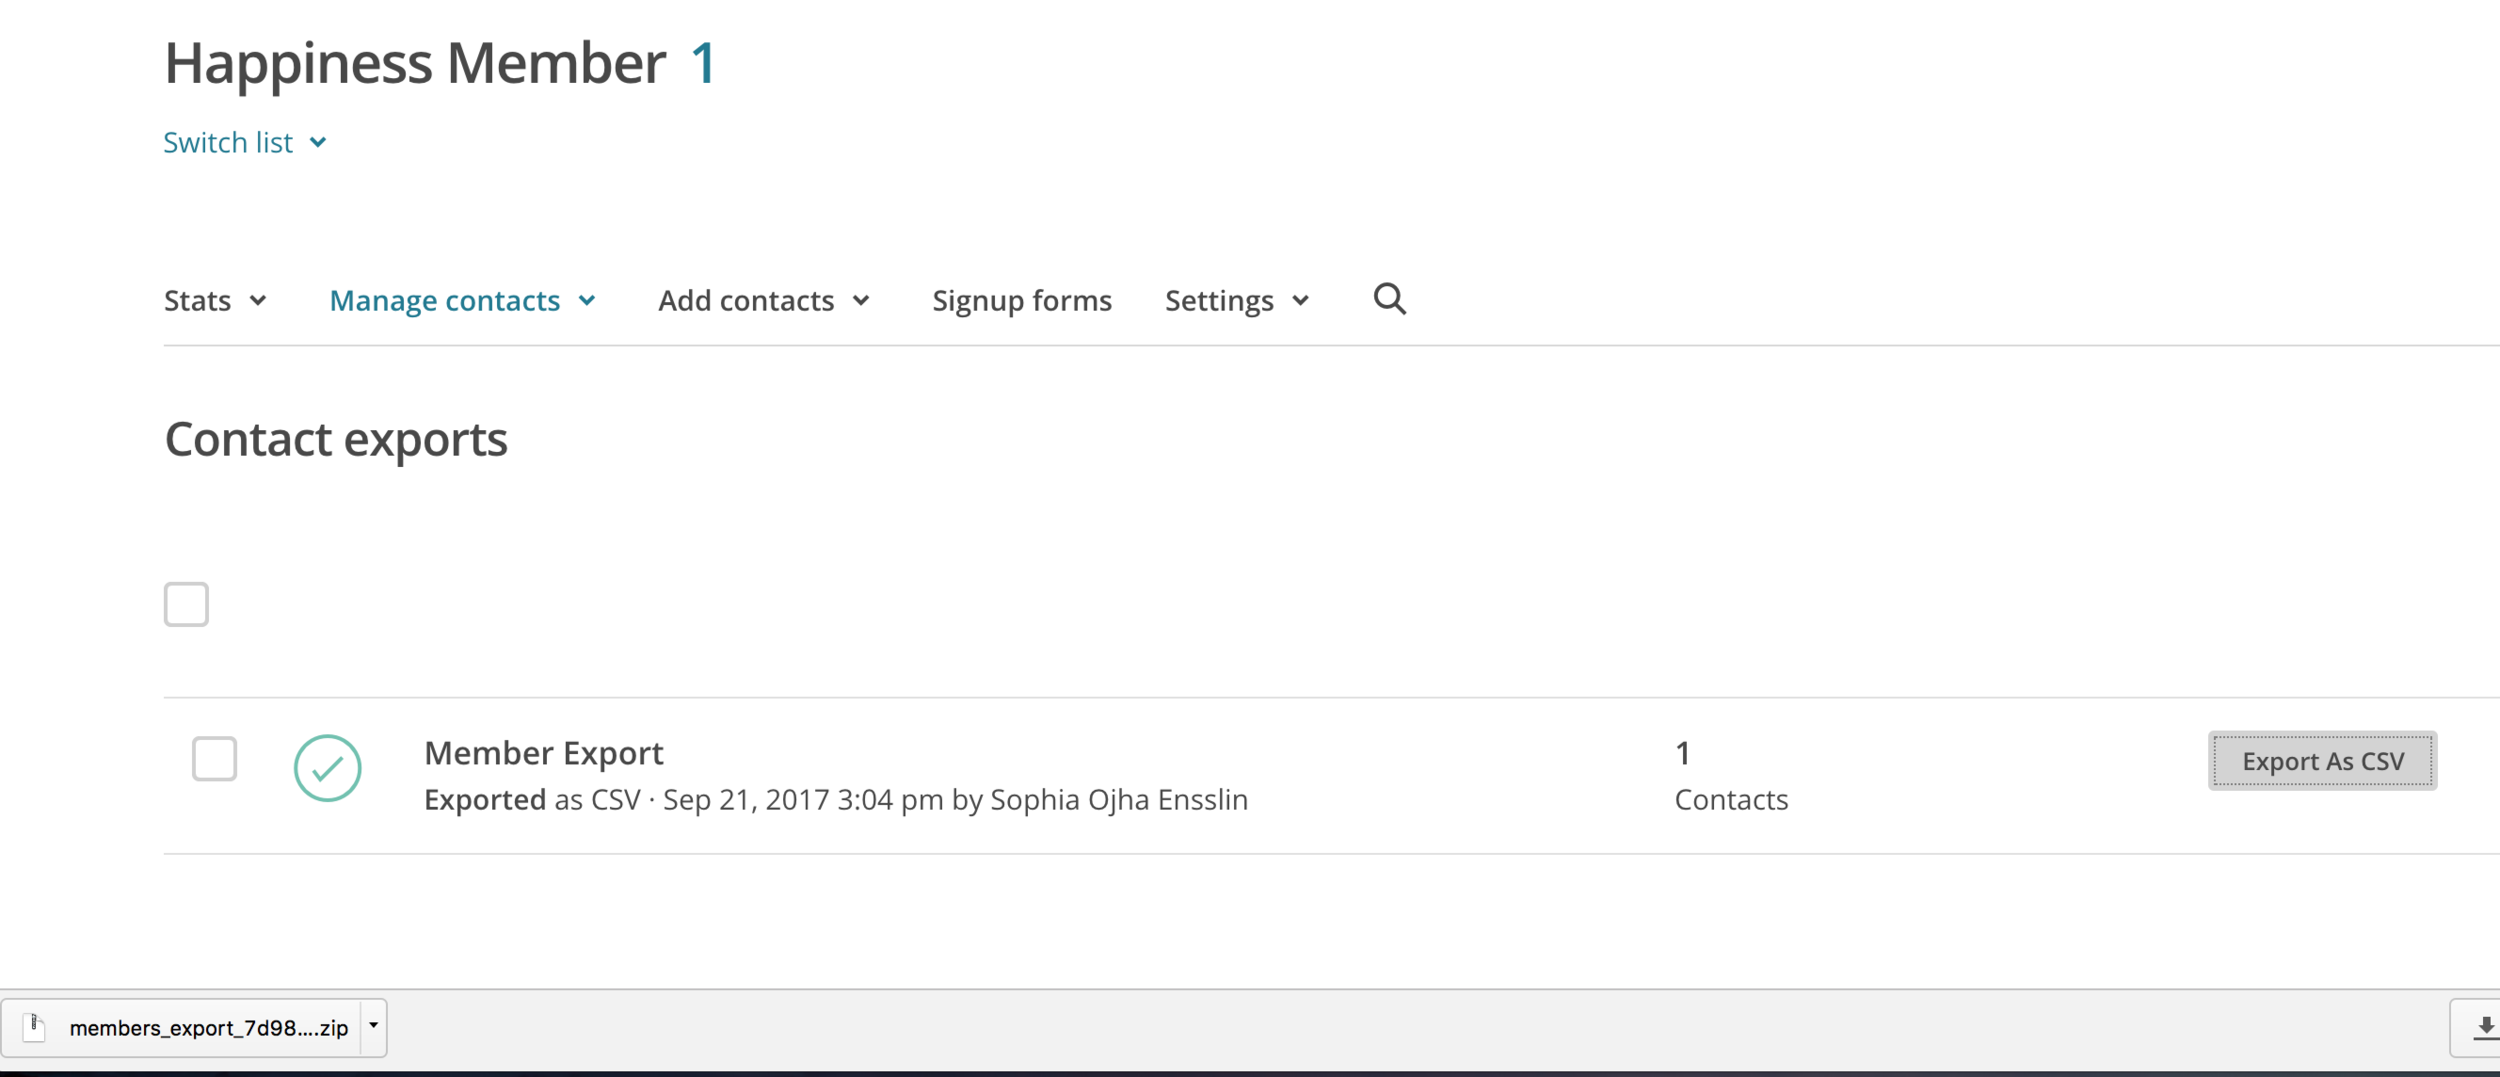
7. Now the icon changes to blue with a check mark inside.
Now you are ready to click on the grey button on the right that says "Export as CSV"

8. When you click that grey button, it will begin to download.
It will go to your "download" folder (or elsewhere if you've set it to go to a dedicate folder).
And it will show like this on the foot of your browser window as it does for me.
(I am using Chrome on a Mac. It may look differently on your system).
9. It will download as a .zip file.
Now double click on the zip icon to open it.

10. You will see the contents of the zip file show us as a list below it.
In my case, it's just one .CSV file. Yours may have more than one files listed. Look for the one starting with "subscribed". These other files that may open up containing info for for unsubscribed or bounced emails.
So make sure to look for the file that says "Subscribed_members_export..."

11. Name this .CSV file right away in your downloads folder
Especially, if you have multiple lists. This will make your life easy and the import accurate. Give it a name that corresponds to the List it contains. So in my example, I added "ListHappinessMember" at the very end of the file name.
12. In ConvertKit: Click on the grey sign called "Import subscribers".

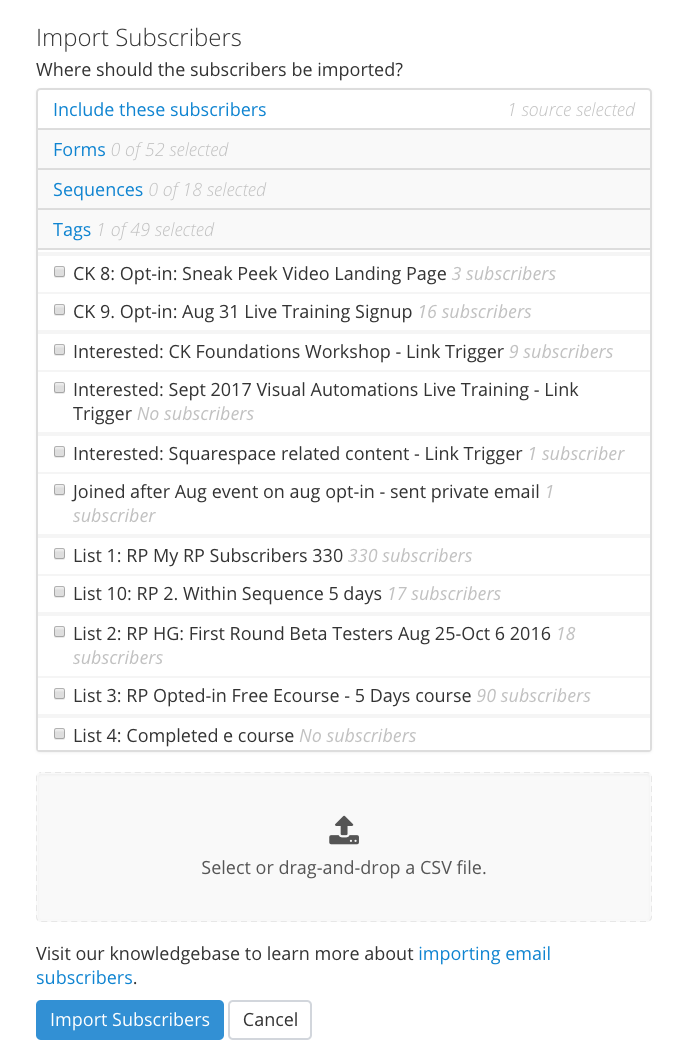
13. This drop down will show up.

14. From the dropdown menu, check off the tag into which you want to import this List from MC.
Note you can select multiple tags if that makes sense in your email marketing game plan.
15. Drag the "Subscribed" .CSV file into the grey box on the right.

16. This is what it looks like next.
You will see these columns that need to be mapped to a corresponding field.

17. First select the corresponding fields to match Email like you can see in this screenshot.
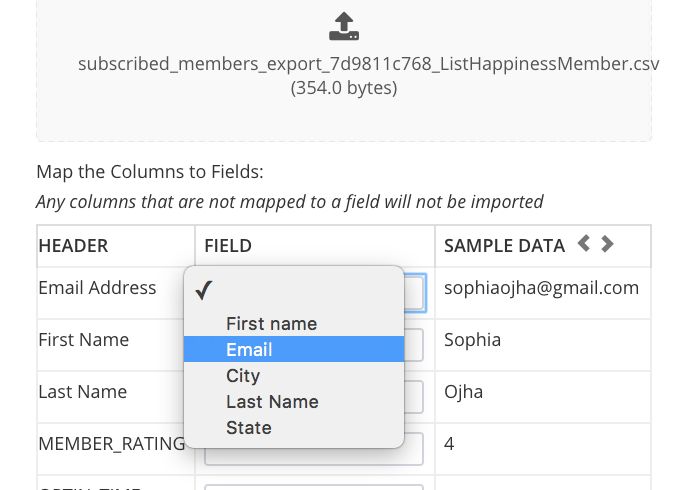
18. Next select the corresponding fields to First Name.
You can choose to leave the rest empty. If you do want the other info, you will need to create custom fields in your ConvertKit account first.

19. This is what the correctly mapped fields look like. Now click the blue "Import Subscribers" on the very very bottom.

20. Once the file is imported, this mint green bar will show up on the top of your ConvertKit dashboard telling you that the import is a success!

21. You will also get an email from ConvertKit telling you that the import is completed.

22. You are done with importing your first List! Yayy!!
Repeat this for all your lists in Mailchimp
Pro-tip and a big time saver:
I highly recommend you complete these steps for each list before moving on to the next list. This is where batch processing (or exporting all lists first) can get confusing - because when the CSV file downloads from Mailchimp, you do not see which list it belongs to. It's a garble of numbers and letters that make up the file name. Very difficult to identify!
So name the zip file and the folder inside it as soon as you download it. This will make it easy to identify the right file for the right list and you will accomplish the job faster and accurately.
That's it. Let me know how your transferring of lists went in the comments below.

Plus, if you have not done all the steps before this stage, download my free checklist to help you prep before you move to ConvertKit.
Peace,
Sophia